Ocean-Themed Nail Art: Summer Wave Designs
Get ready to be swept away by the ocean’s charm this summer with stunning nail art. From calm beach waves to magical mermaid designs, these nails capture the summer spirit. They’re perfect for adding a touch of the sea to your look, whether you’re heading to the beach or just want to feel it every day.
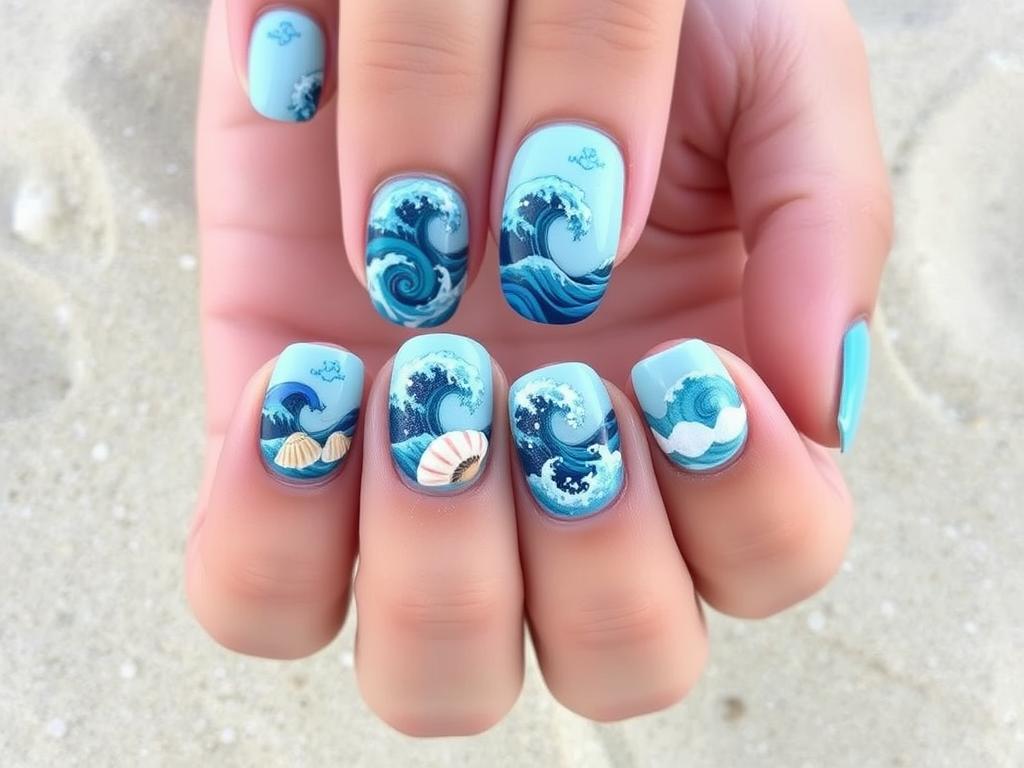
Beach nails and mermaid manicures have become super popular. People love to show off the ocean’s beauty through their nails. With waves, seashells, and sea creatures, these designs take you to a peaceful beach with just a glance.
Key Takeaways
- Explore the captivating appeal of ocean-themed nail art designs for summer
- Discover the latest trends in beach nails, mermaid manicures, and other nautical nail art
- Learn how to incorporate the beauty of the ocean into your personal style
- Elevate your summer look with mesmerizing wave patterns and marine-inspired accents
- Embrace the tranquil and whimsical essence of the ocean through your nail art creations
Essential Tools and Materials for Ocean Nail Art
To create stunning ocean-themed nail art, you need the right tools and materials. You’ll need basic supplies and special items for wave effects. The right equipment is key for professional-looking results.
Basic Nail Care Supplies
First, build a solid foundation. Get a good nail buffer, cuticle pusher, and nail clipper. These ensure your nails are ready for art. Also, use a base coat and top coat to protect your nails and keep colors bright.
Specialty Tools for Wave Effects
For ocean-inspired nail art, you’ll need special tools. Get a set of nail art brushes in different sizes and shapes for wave patterns. Use dotting tools for small details and striping tape for clean lines. Try different techniques to find what works best for you.
Color Selection Guide
Choosing the right colors is key for ocean nail art. Use shades of blue, green, and teal to mimic the ocean. Add glitter polish for sunlight sparkle. A wide range of colors lets you be creative and bring the ocean to your nails.
| Tool | Purpose |
|---|---|
| Nail Buffer | Smoothing and preparing nails |
| Cuticle Pusher | Maintaining healthy cuticles |
| Nail Clipper | Trimming and shaping nails |
| Base Coat | Protecting nails and ensuring long-lasting color |
| Top Coat | Sealing in the nail art design |
| Nail Art Brushes | Creating intricate wave patterns |
| Dotting Tools | Adding textured details |
| Striping Tape | Achieving clean, precise lines |
| Blue Nail Polish | Capturing the depth of the ocean |
| Green Nail Polish | Representing the movement of the waves |
| Teal Nail Polish | Blending the shades of the ocean |
| Glitter Polish | Adding sparkle and dimension |
Ocean-Themed Nail Art Techniques and Patterns
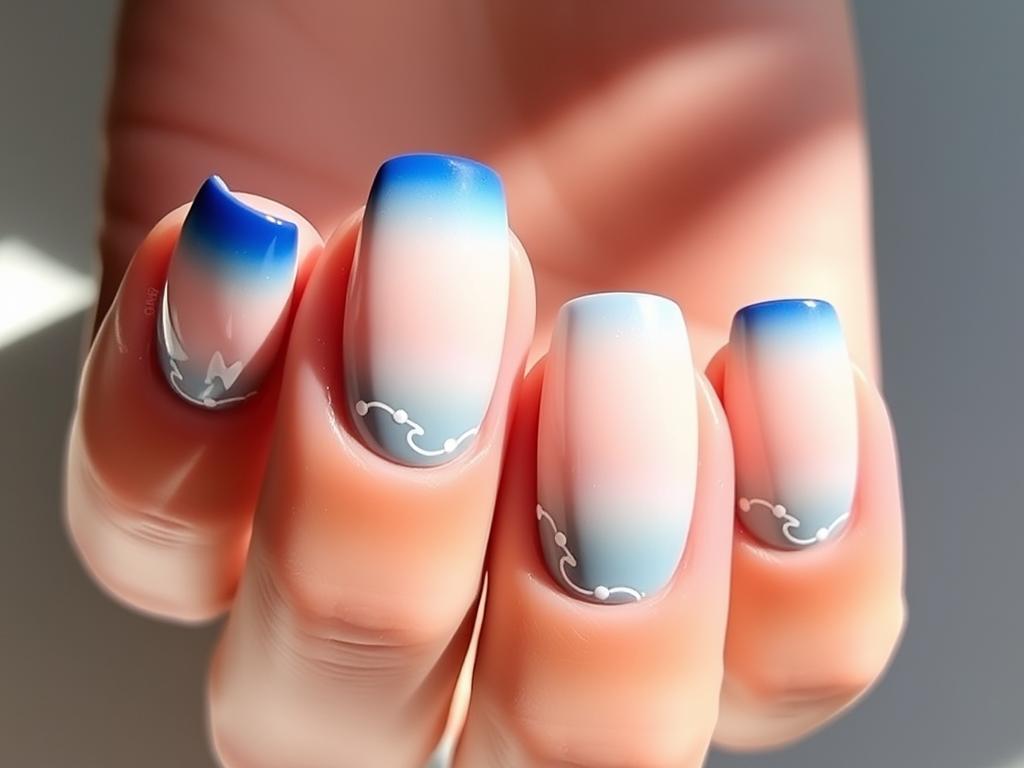
Elevate your summer manicure with captivating ocean-inspired nail art. Try ombre nails and water marble technique for endless possibilities. Use stamping plates for intricate wave patterns and gradient nails for a water-like finish.
Start with simple sponge painting for ombre effects if you’re new. More skilled artists can try the water marble method for a unique design. Stamping plates make adding depth and patterns like bubbles and waves easy.
For a sophisticated look, blend shades for gradient nails. Use blues, greens, and whites to capture the ocean’s essence. Remember, the key is to have fun and let your creativity flow.
| Technique | Description | Skill Level |
|---|---|---|
| Ombre Nails | Gradual transition between two or more colors | Beginner |
| Water Marble Technique | Swirling patterns created by floating nail polish in water | Intermediate |
| Stamping Plates | Stamping pre-designed images onto nails | Intermediate |
| Gradient Nails | Seamless blending of multiple colors | Advanced |

“The ocean is a master of disguise, constantly changing its mood and appearance.” – Unknown
Creating Perfect Wave Designs Step by Step
Ready to bring the ocean’s enchanting waves to your fingertips? Achieving stunning wave nail art is easier than you might think. Let’s dive into the step-by-step process to create mesmerizing nail art for beginners and experienced artists alike.
Base Coat Application Methods
Start by applying a high-quality base coat to your nails. This will help the subsequent layers adhere seamlessly and create a smooth canvas for your 3D nail art design. Be sure to apply the base coat evenly, taking care to cover the entire nail surface.
Wave Pattern Techniques
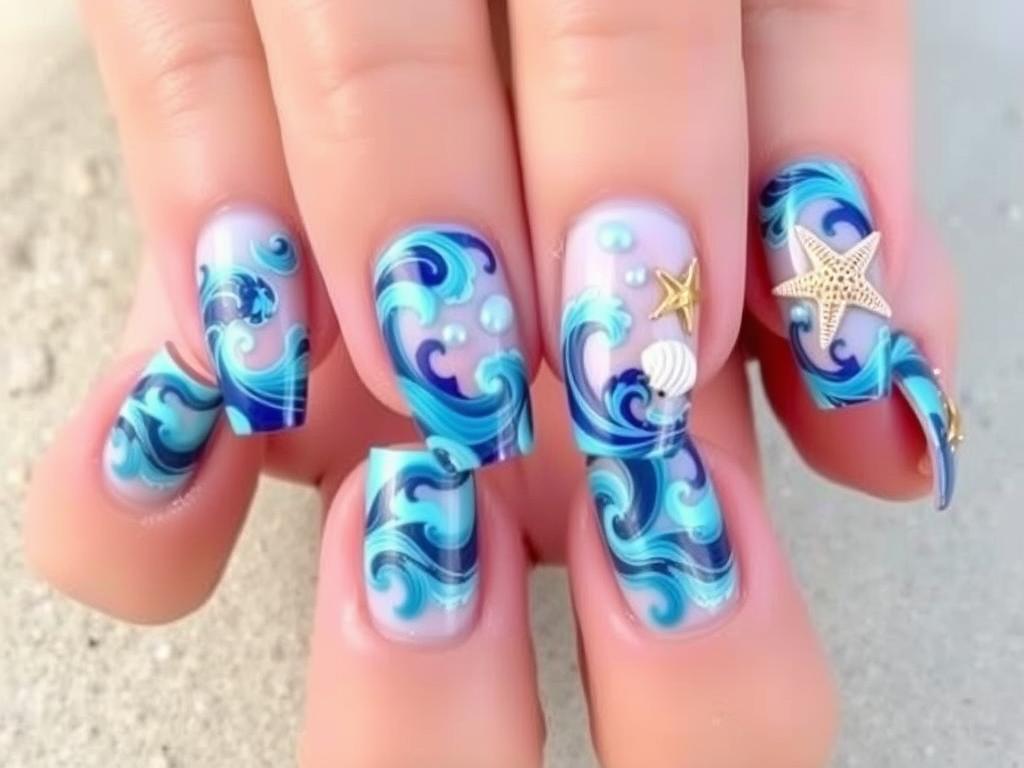
- Using a dotting tool or a thin nail art brush, begin painting gentle curved lines across your nails to mimic the shape of ocean waves.
- Experiment with different wave patterns, such as cresting waves or subtle undulations, to find the look that best suits your style.
- For added depth, try layering different shades of holographic nail polish to create the illusion of light reflecting off the water’s surface.
Adding Sparkle and Dimension
To take your wave nail art tutorial to the next level, consider incorporating glitter, iridescent flakes, or even small seashell-inspired charms. These elements will add a touch of whimsy and depth to your design, making your nails truly stand out.
| Technique | Effect | Difficulty Level |
|---|---|---|
| Layered Wave Patterns | Creates depth and dimension | Intermediate |
| Holographic Nail Polish | Captures the shimmering light of the ocean | Beginner |
| Glitter and Iridescent Accents | Adds a touch of whimsy and sparkle | Intermediate |
With these tips and techniques, you’ll be well on your way to creating ocean-inspired nail art that’s sure to make a splash. Embrace your creativity and let the waves flow across your nails.
Advanced Ocean-Inspired Embellishments and Details
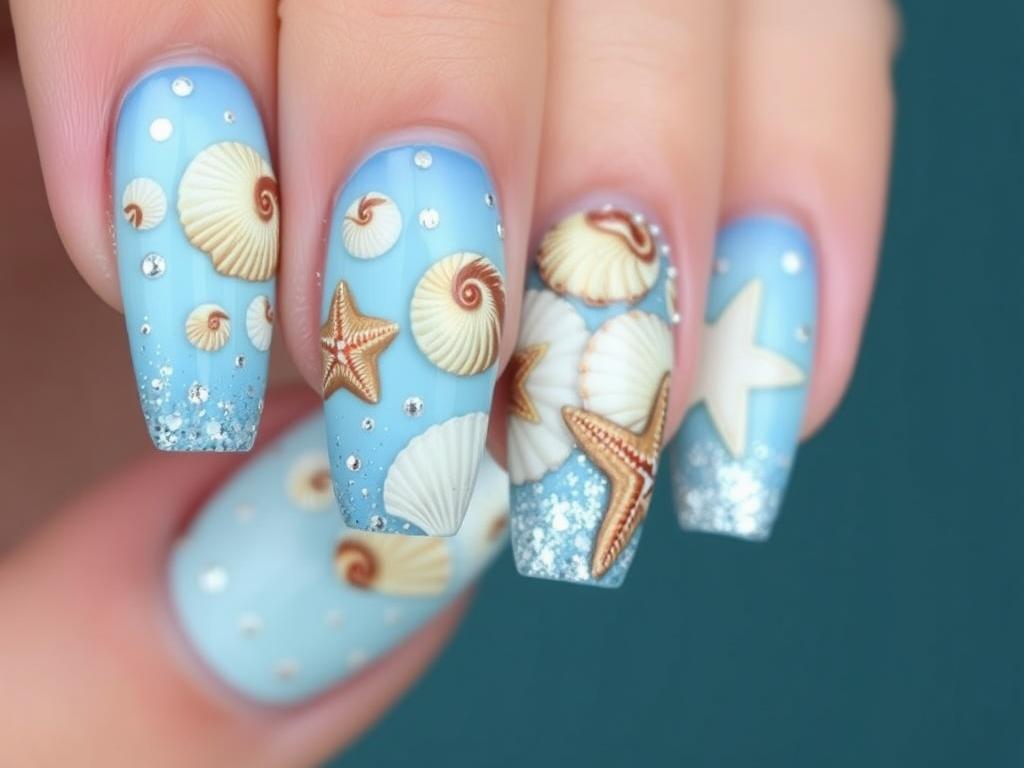
Take your seashell nail art, pearl nail designs, and starfish nail embellishments to the next level. Explore the world of coral reef nails and get creative with detailed textures and 3D elements. Whether you’re an experienced nail artist or just starting, these tips will help you make stunning nail art.
Crafting Realistic Seashell Designs
Make the beach come alive on your nails with seashell art. Start by shaping the base with acrylic or gel. Then, paint every detail carefully for a realistic look. Use iridescent pigments and pearlescent finishes to show off the beauty of seashells.
Captivating Starfish Nail Embellishments
Give your nails a whimsical touch with starfish accents. Use 3D nail art to make starfish look like they’re moving. Try different textures, like matte and glossy, to get the starfish look just right.
Enchanting Coral Reef Nails
Bring the coral reef to your nails with vibrant colors and patterns. Use detailed brush work and layering to show off coral’s intricate designs. Add shimmering accents and textured finishes to make your nails feel like they’re underwater.
| Technique | Description | Difficulty Level |
|---|---|---|
| Seashell Nail Art | Sculpting and painting realistic seashell designs | Intermediate |
| Starfish Nail Embellishments | Creating 3D starfish accents for a whimsical touch | Advanced |
| Coral Reef Nails | Capturing the intricate patterns and vibrant colors of coral | Expert |
Let the ocean’s beauty shine through your nails. With these advanced techniques, you can make stunning seashell nail art, captivating pearl nail designs, mesmerizing starfish nail embellishments, and enchanting coral reef nails. Your friends and followers will be amazed.

“The ocean is a world of wonder, and now you can bring that wonder to your fingertips with these advanced ocean-inspired nail art techniques.”
Maintaining and Preserving Your Ocean Nail Art
Creating the perfect ocean-themed nail art is just the start. To keep your designs looking vibrant, follow some key steps. These tips will help your nail art stay beautiful, even as summer ends.
Safeguarding Your Manicure
A good top coat is essential for keeping your nail art looking great. Choose a formula that seals in color, adds shine, and prevents chipping. Apply a thick layer over your design and let it dry completely. Reapply every few days to keep it looking fresh.
Extending the Life of Your Mani
Take care of your nails gently to make your manicure last longer. Stay away from activities that might damage your design. Wear gloves when washing dishes or cleaning. Fix any small chips or worn spots with matching polish and top coat.
| Tip | Benefit |
|---|---|
| Use a long-lasting top coat | Seals in color and protects against chipping and fading |
| Practice gentle nail care | Helps preserve the intricate ocean-themed design |
| Touch up any imperfections | Maintains the vibrant, polished appearance of your nail art |
Follow these nail art protection tips to enjoy your long-lasting nail art for weeks. Enjoy your ocean-inspired manicure all summer long, even as the seasons change.

Inspiration and Trends in Ocean-Themed Nail Art
As summer approaches, ocean-inspired nail art is all the rage. Celebrities and Instagram are leading the way, bringing creativity to the forefront. This trend is making waves in the beauty world.
Celebrities like Kylie Jenner, Rihanna, and Selena Gomez have rocked ocean-themed nails. Their fans are now trying out summer nail design ideas inspired by these looks.
On Instagram nail art trends, you’ll find a world of ocean designs. From simple waves to detailed underwater scenes, there’s something for everyone.
- Soft, pastel-hued waves that evoke the gentle lapping of the ocean
- Bold, geometric patterns inspired by the rhythm of the tides
- Iridescent, holographic finishes that capture the ever-changing nature of the sea
- Detailed nail art depicting whales, sea turtles, and other ocean creatures
Ocean-themed nail art is a canvas for creativity. It lets both pros and DIYers show their love for the sea. Whether you want a subtle hint or a full aquatic scene, the options are endless.

“The ocean is a source of constant inspiration, and I love translating its endless beauty into intricate nail designs.” – Celebrity Nail Artist, Sarah Nguyen
Conclusion
Creating ocean-themed nail art is fun and rewarding. It brings the essence of summer to your fingertips. You’ve learned to transform your nails into a beach-ready manicure.
The beauty of DIY ocean nails is in the creativity. You can choose from subtle patterns to vibrant designs. Let your nails show off your unique style and personality.
Keep exploring ocean-inspired nail art. Try new techniques and colors. With practice and imagination, you’ll create stunning nails. So, dive into ocean nails and make a splash this summer!
